Tuesday, October 4, 2011

Tomatoes!

I grew tomatoes this year in the little garden in our backyard.


It was my first time really growing anything. I loved it!

I also grew lettuce in a container on our deck. It was so nice to be able to go outside and pick some food for supper.
I planted the lettuce on July 1st. These pictures were taken on:
July 5th

July 7th

July 11th

July 17th

August 5th
We are still eating the tomatoes, but we have two favourite tomato recipes that we've had quite a few times this summer. Bruschetta and toasted tomato sandwiches.


Our cutest Niece and favourite Nephew

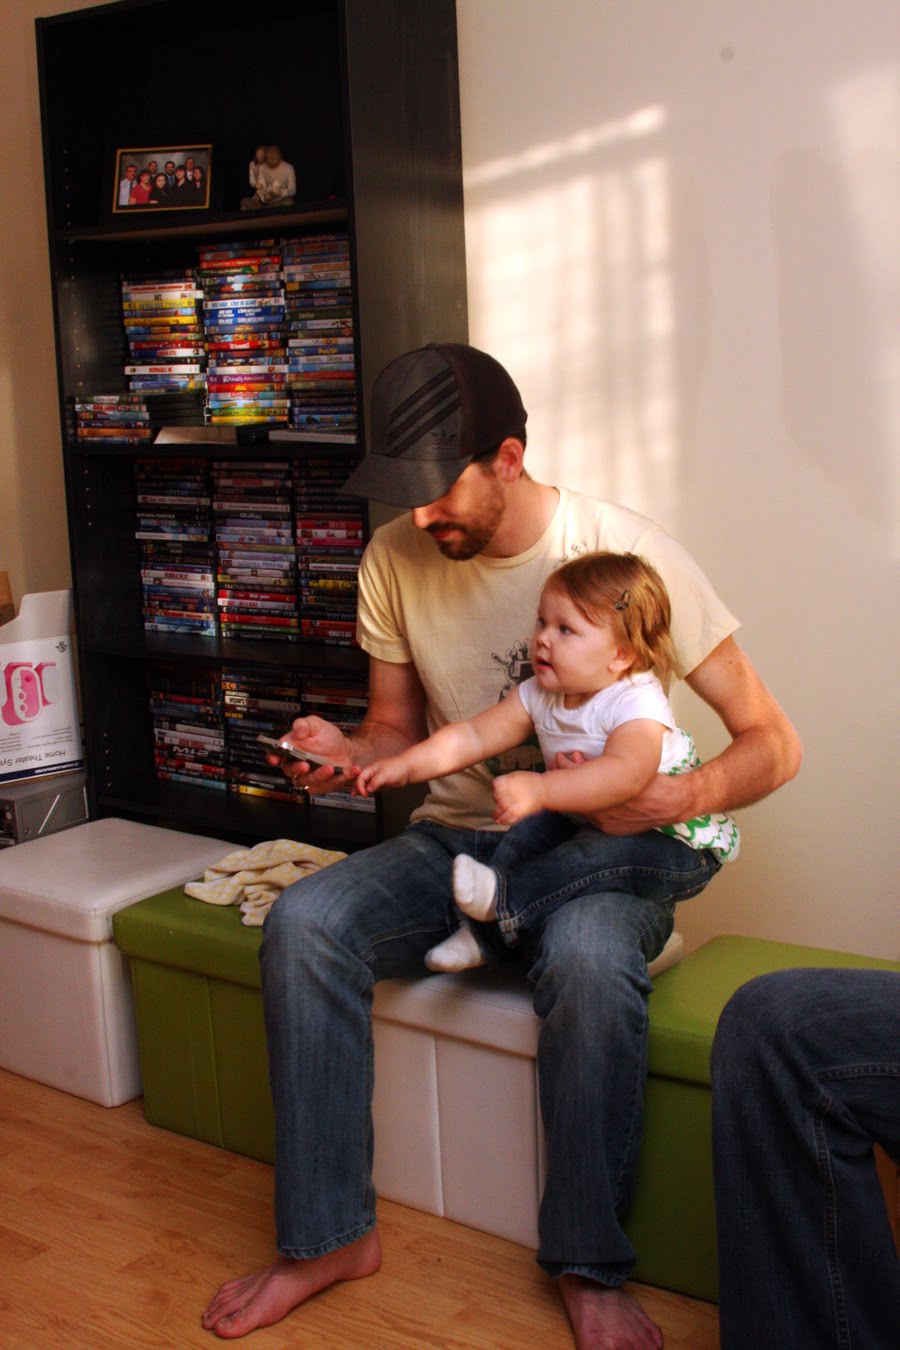
Within the last year we got our first niece and a our first nephew! And we love them!


Sophie Kinnon Quist was born on September 13th 2010


Finn Anderson Quist was born on September 3rd 2011.


They aren't even a full 365 days apart!

Sophie is so fun to play with. She has the most hilarious expressions!


Finn turned 1 month old yesterday. He was 20 days early and weighed 9lbs 7oz.


Sunday, June 19, 2011

Happy Father's Day to Our Fathers


Like a tiny seed
Firmly in the soil
Nurtured with a love i think
So rare
Given room to breathe
Given time to see
It's now so clear to me
You were there

And with each changing season
Though I grow a little stronger
Rising up to touch the open sky
And if I gave you a reason
Not to hold me any longer
You gave me a thousand reasons why

You are my steady oak
Standing tall and strong
Protecting me with everything you have
And I know deep inside
I would not have survived
Without you by my side
I love you Dad


Love Amy & Steve

Monday, June 13, 2011

Our House and Gardens

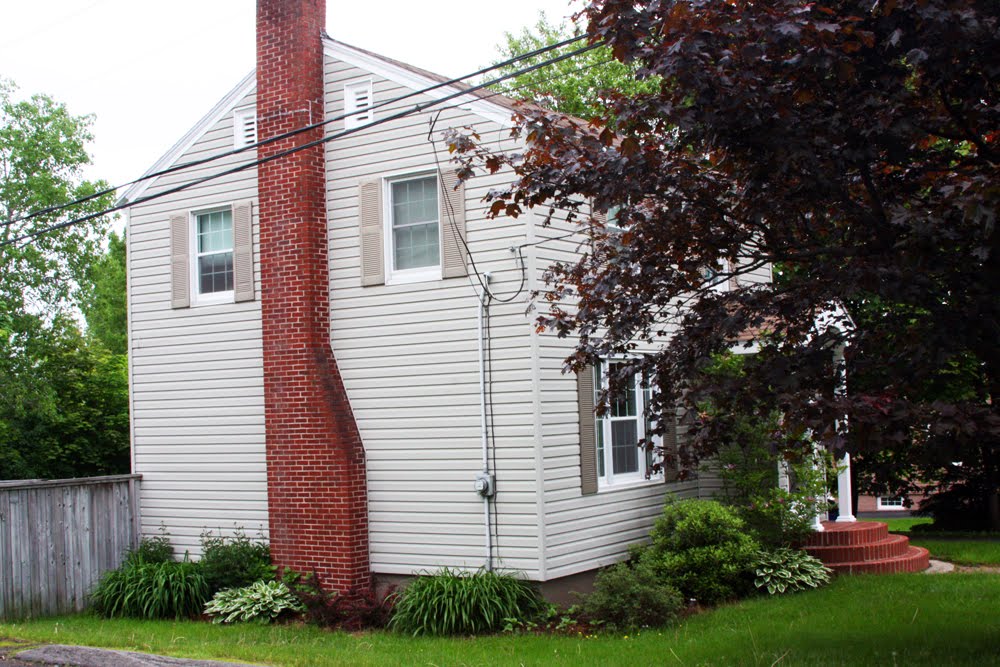
It's kind of fun buying a house in November. You end up with a surprise garden in the spring. We knew we had a magnolia tree, and we knew about the red maple, but pretty much everything else was a surprise.

We have a magnolia tree right outside the front door:

There are Hostas growing in about 5 different spots:

Chives are growing beside our chimney:

Yellow Lilies make our shed look pretty:

Lilacs were a fun surprise since they are one of my top 5 favourite flowers! I had to cut some and have them inside before they died so I could smell them all the time. We had them in 2 places;
the living room:
and the bedroom:

There is a large Weigela tree in our backyard and a tiny one in our front yard:

There is a big Red Maple tree in the front yard that is very colourful from about April until November. I think it's actually a Royal Red Maple:

We have what I think may be 2 Smoke Bushes in the front yard. If anyone knows for sure what kind of bush this is, I'd love to know: (*update: They're called Concord Japanese Burbury *)

I discovered just this morning that we have 2 large Peonies! One of my favourite flowers. One is in the back yard and one in the side yard:

The side of our house surrounded by big, awesome plants:
Close up of the side garden:

And this is our house at night:

I love our cute little house and yard :)

The Kitchen!!

We finally got most of the work done in the kitchen. The only thing left is to put handles on the doors and drawers. We even have the handles picked out, we just need to save some money in order to buy them. They're only a couple of dollars each, but when you have 20 doors and 10 drawers it adds up fast.

Here is a before, mid, and after shot of the doorway area leading into the hall:

Before we did anything to the kitchen

After we painted the trim around the door

After we painted the trim and removed wallpaper, painted it light grey, and removed wood from cupboards

Here is Mom doing all the hard work

Mom and Laura helped me scrape off the old wallpaper and paint.

Here are some pictures of the back door area:

This is after we painted the door trim, but before we
painted the trim around the oven, or did any wall painting.

This is after we painted all the trim and walls

It's a very subtle colour but it really makes the kitchen look brighter, bigger, cleaner, and more modern. I really love it and look forward to adding the door handles and some art :)

Saturday, May 14, 2011

DIY-ing is fun!

In December I saw an ad on Kijiji for 4 tv trays for $5. The flower pattern was not really my style, but I have been closely following about a dozen different DIY and Interior Design blogs since before we bought the house, so I assumed I could figure out how to make these tv trays look cool.
The idea is nice and simple. It's kind of retro-minimalist. While I wouldn't exactly define my style as "retro-minimalist", I have been learning that it's good to layer and combine different colours, fabrics, patterns, textures and styles to create your very own look.

So, I think these tv trays will fit nicely into my look. Whatever that is :)

This is the original tv tray with the old flower bouquet pattern.


It took a good half hour at Walmart the other day to decide what colour I wanted to use. I wanted something colourful, but also something that could go in any room. I thought pink would be cute. Or blue. But I decided on grey and white. I am going to paint my living room grey and white, so I thought the table would look good with those colours, since whatever i put on the table can add a splash of colour.

It also took me a while to decide on the new pattern. I finally decided on this stencil:


I thought it would look cute, and the grey and white would be subtle enough that it wouldn't be too high contrast (Steve doesn't like high contrast damask-like patterns).
So, I spray painted the tray white:


It took almost a whole can of spray paint to cover the original yellowish colour and the original flower pattern. Luckily it didn't take 100% of the can of paint because spray painting the stencil did not work well at all. I just re-painted the tray white and spent about a week thinking of how to get around using a stencil while still having some sort of design or pattern.

Finally I decided I'd try to make random stripes with tape.


It worked great! I really like it.

Here it is in the hallway with my new pink vase and a black and white engagement picture of Steve and I:

I bought 4 of these trays, and I don't know if I'll do the random stripe thing on all of them, or if I'll try different patterns and colours on the other 3.


Now to paint the legs... and the kitchen, living room, dining room, hallway, bedroom and bathroom :)

Saturday, April 16, 2011

Renovations!!

I just renovated my kitchen, by myself, for free!
Well, I'm not 100% finished, but very close. And it won't be 100% free, but almost! I still have to buy some handles for the cupboard doors and the drawers.
The renovations mostly consisted of painting and removing wood trim. I am not a fan of wood trim. I am a white trim kind of girl. White trim looks good in any situation.
Here are a couple of pictures of the kitchen before I did anything to it:


See how 80's it looked? It was pretty dark for being mostly white. Most of the walls, 4 out of 5 of the appliances and the back splash are white, but because of the dark green counter top and the wood trim around everything, it seemed so old and dark.

Here are some before and after pictures:
(I should have cleared the counters before I took the after pictures)

This is looking at the back door and the oven.
(Notice the wood trim around the oven and the shelf above)

This is after I painted the wood trim, added some place-holder handles on the lower cupboards (to see if they would look right) and fixed up the storage space above the oven.
And yes, that is a laptop hanging on the wall.... I'm married to Steve Day the computer genius. Steve actually hung that there as a surprise for me. He knows I like to look at recipes online while cooking, so it's my Kraft.ca laptop :) What he may not know, is that I also like to listen to dance music while I cook, so I can work off some of the calories I'm about to eat! So it's also my youtube laptop :)

Doesn't it seem brighter already?!

This is a before picture of the other side of the kitchen.
(The sink/dishwasher area).


This is the sink/dishwasher area after I painted (almost) everything white. I left the counter top trim unpainted because 1) I don't know yet if the paint I have will be strong enough to stand up to every day use on a counter top and 2) I don't need EVERYTHING to be white.


This is a before picture of my stove area.

And here it is after I painted it white.

Unfortunately, I forgot to take some good before/after pictures of the removal of the wood trim that was hanging below the upper cupboards. You can see them in the first two pictures, and you can see that they're gone in the other pictures.

The kitchen is so bright and clean and white and nice now. I love it!

Painting the living room is going to be one of my next projects. I have paint chips taped up in three places around the room to see the paint colours in different lighting. I am 99% sure I found a favourite, but I have to wait until Steve gets home before I can decide for sure. (It's his house too, so I guess he should have a say in what colour the living room is)

The colours all look pretty similar in this picture, but they're quite different. I think we're going with a grey colour. My favourite is called Surreal Blue.

I will continue to (excitedly) blog about our home improvements as they happen.